DIY Cannabis Photography: Tips for Taking Professional Shots
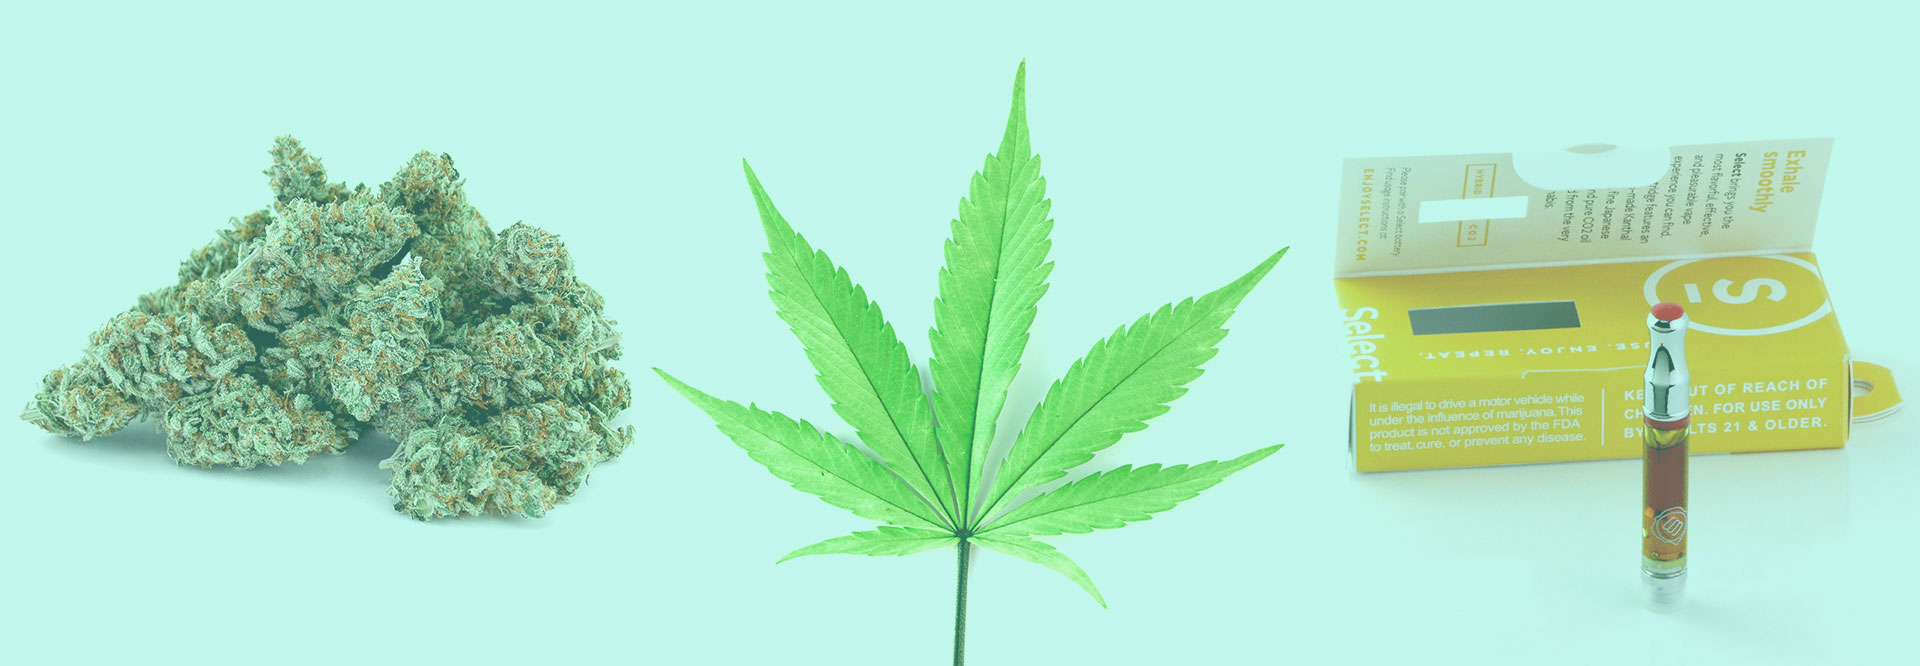
Cannabis photography is at the core of marketing a marijuana based business. Instagram is now the most popular social network in the world & 100% reliant on stimulating visuals to attract and maintain your audience. This is especially important if you’re a producer, processor, or retailer. Your users want high resolution photos of dank buds, ganja girls, dabs & doobies; rightfully so.
Over half of the states have implemented medical marijuana programs & more than a handful allow recreational consumption. Which means along with being in extremely high demand, my job is legal in a lot more places!
Cannabis Photography!
Whether you’re a small business owner trying to take better photos of your hash oil, a new photographer that just got hired by a farm, or a consumer snapping pics with your phone of the things you get at a dispensary; we’re all just trying to improve Mary Jane’s image.
Photographing cannabis plants & products can take a lot time & practice to figure out. I’ve been shooting professionally in this industry for years, but i’m still learning new skills & techniques every week. To help save you a little time, I thought it’d be nice if I shared a few of the things i’ve learned along the way.
Here are some quick tips for taking better cannabis product photos.
Flash Photography & Cannabis Don’t Mix Well
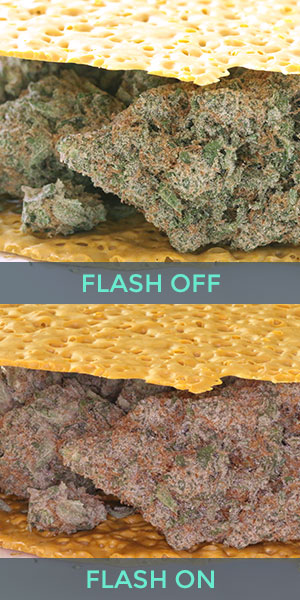
Have you ever tried taking a selfie in the mirror with your camera flash on? It doesn’t usually end well. The bright light reflects off of the mirror and causes a glare in the camera’s lens. The same thing happens with marijuana photography.
Those little crystals (trichomes) all over your ganja plants are reflective. So are most oil based concentrates. If your nug shots are looking a little washed out, or your dab pics have giant white spots / streaks; try turning off the flash and grabbing a lamp (or three).

Control the Light on your Subject
Professional photography studio lighting is great, but isn’t necessary to take a great picture. Desk lamps can be a fantastic alternative. Place your lights close to your subject and move them around until you get a result you’re happy with.
I’ve personally adopted a 3 Point Lighting setup.
-
Key Light – Main light used on your subject (commonly overhead)
-
Fill Light – Fills in shadows created by the key light (front / side)
-
Back Light – Separates the subject from the background (side / back)
PRO TIP: Flip the lampshade around so it creates a cone. This allows you to direct the light. Use a piece of thin white cloth or paper to cover the end. This will diffuse (soften) the light and help reduce glare on reflective surfaces, a trick used by many professional photographers.

Stabilize Everything | Minimize Wobble
Is your cannabis photography coming out a little blurry? Are you holding the subject? Try setting your new vape cartridge down on a desk or table. If it shakes at all, don’t lean on it!

Using a tripod with your camera is the best way to reduce shake & blur. Setting the device down on a flat surface is an option too.
There are tons of inexpensive mounts for your phone, like the one HERE.
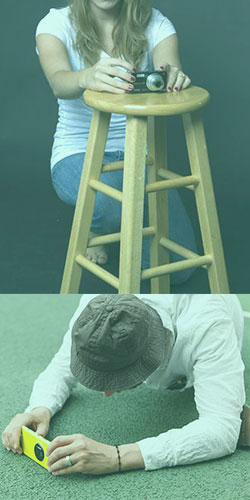
Need to go freehand to get the right angle?
Find a stool, or something of similar height and place it near your surface. Lean your elbows on the stool to stabilize the camera. Alternatively, lean on a nearby wall or solid structure.
Use Editing Software
I’m not suggesting that you master Adobe Photoshop. But I am urging you use one of the many editing apps available for free. Most have an auto correct feature that will balance the color and lighting levels. This will increase the quality of your photos with minimal effort!
Here are a few to try:
Be Creative & Have Fun
In time you’ll develop your own process for taking dank pics. Enjoy the journey.
Keep moving your lights around between shots to change the lighting on your vape pen. Rotate your bong a little after each picture. Slide all the faders and push all the buttons on your new editing app. Don’t be afraid to experiment. It’s the best way to find out what works for you as a cannabis photographer!

I can’t wait to see all the amazing canna-pics you’re going to take! Some of my work is on Instagram @canna_tography | tag me so I can see what you’ve created!
Stay Lifted & Happy Snapping


Den Haag Wedding Photographer
Posted at 13:46h, 04 FebruarySustain the excellent job !! Lovin’ it!
jogesh debnath
Posted at 00:14h, 10 AugustThanks for your great information.I really like your tips for taking professional shots.